Chameleon Wizard Mavericks
I know it hurts but my advice for you guys if you have the G750JX-DB71 it should be identical to mine. However if it has a slightly different product ID like G750JX + something else it is more than likely that there are some differences (like Atheros card for example).I really can't guarantee that this guide will work flawlessly with those other models. I have spent a lot of time trying to get my own version of the G750JX working by disecting all the interupts, product Ids and vendor ids for all hardware to get as many of it working under OSX.Your success there will vary.But let me explain what you should do. IDEALLY you want to avoid installing Clover on anything but the Mac drive partition. The reason behind this is that if you mix Clover with Windows it will make a mess because Windows marks it's own partitions SYSTEM and then it puts it's own EFI stuff etc etc. So Clover even has warnings and alternate guides if you want to mix this stuff.
Chameleon Wizard is a forthright updater application designed for the Chameleon boot loader app designed to help you take advantage of all.
I really can't help you too much with this because I wanted to keep it super simple and my method should work great.So let me go over the ideal scenario like I have. I will include everything.1. I wiped completely both drives.
Both SSD and the 1Tb.2. I have created a Windows 8.1 Pro USB stick installer3. I have booted into Windows 8.1 setup and took the 1tb drive to be my Windows 8.1 drive until I get a nice bigger SSD to replace that 5400rpm slug but for now, since I spend a lot of time in OSX I decided to put OSX on the SSD as I don't install any games on it.4.
Once I went into installer for Win 8.1 Custom Installation I basically completely formatted the 1tb drive there, I killed completely partitions and anything on the SSD drive, then I told Windows to create partition on the 1TB drive.5. When Windows did that, it created 2 partitions for Windows one of which was SYSTEM RESERVED. If you get that that's exactly how it's on mine. Important note here is that SYSTEM RESERVED and WIndows system partition both MUST be on the 1tb drive not the SSD. If for some reason Windows created SYSTEM RESERVED on the SSD drive, that's NOT good and you should wipe and play with it (disable the SSD drive or something at boot) and try to wipe the 1tb partition and create again. Until both partitions Windows creates show up that they are on 1tb, you don't want to continue.6.
At this point, I continued to install Windows.7. After installation, I installed my copy of Paragon NFS+ (it's payware but I know it works great so it was $19,99 well spent) and if you plan on running both OSs one reason you should definitely invest in Paragon NFS+ for Windows as well as Paragon NTFS for OSX as a bundle as it will allow you to use Windows 1tb drive later for your OSX storage as well. So it's a win/win. It's a good investment.8. After I installed the Windows now I was ready to put the Unibeast created USB stick in. I put it in and I copied the machkernel from Rehabman to the USB, overwriting the old machkernel. My suggestion to you, even though I didn't do it myself is to take the zipped kexts I gave you and put them into EXTRA folder on USB Stick.
This way, the XHCI problem described below might not happen to you.9. At this point, I rebooted, and disabled XHCI Usb in BIOS to disabled. Some of you noticed, YES, indeed it hangs the boot of OSX if you don't disable this during installation. Unibeast installer probably gets confused with USB 3.0 that's why it hangs.10. When I saved the BIOS settings, I rebooted and chose the USB stick.11. Installer shows up for OSX (don't go into System Information as it will hang) just go directly to Disk Utility.12. In Disk Utility I formatted the partition on SSD as NFS+ Journaled and I set the partition to be GUID Partition (under options)13.
I installed the OSX Mavericks.14. When the installation finished, I rebooted and booted again from USB stick, and this time selected OSX Mavericks partition in Chameleon15. OSX Mavericks boots fine.16. When you see the system booted, at this point you should see a lot of the stuff recognized and some not.
This is where Multibeast comes in. To be perfectly honest with you the most valuable thing with Multibeast is the latest FakeSMC and a few other kexts, but in general after Multibeast you will be overwriting a lot of those kexts from my zip anyways. So multibeast might not even be that necessary but I suggest that you just do it like I did.17. I ran the latest Multibeast for Haswell/Mavericks and installed those options I highlighted in the tutorial. BEFORE I started Multibeast though, I went to Disk Utility and repaired the permissions. Multibeast hung on me a few times I was trying to install and I know that repairing permissions worked for me.
So before you do Multibeast make sure you repair permissions.18. Once you are done with installing Multibeast and those options, don't restart you are not done yet.19. Now, make sure that machkernel you have on USB stick you use and overwrite the machkernel on your OSX Maverick partitition as well.
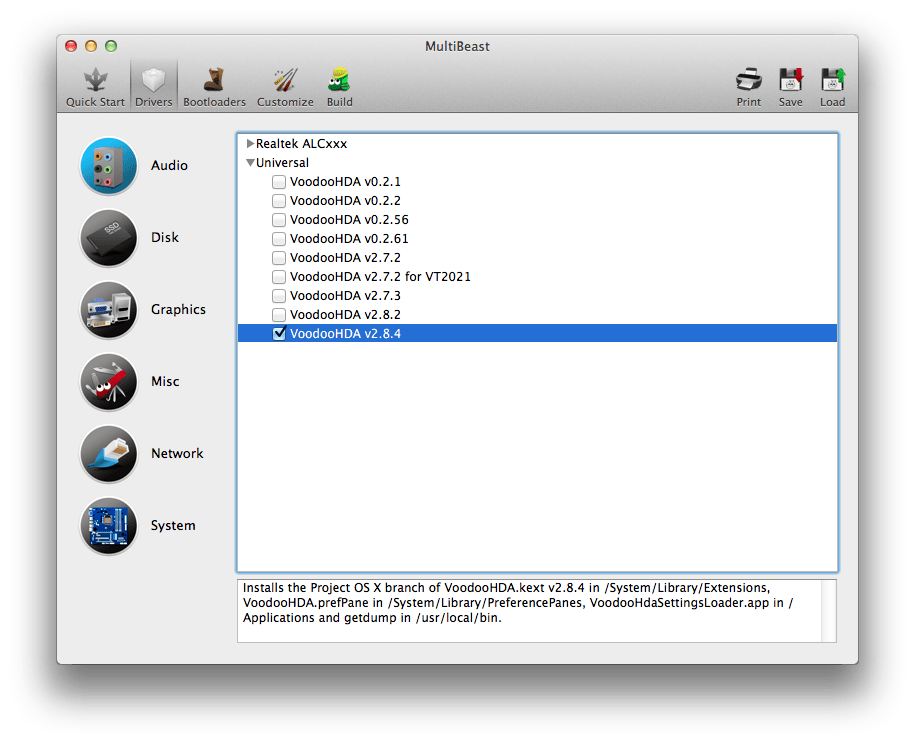
Mavericks on the OSX partition still uses the flawed kernel so you want to make sure you OSX Mavericks hdd install has that same kernel that works. Also, don't forget (if it's not included in the zip I forgot, to install Voodoo 2.84 to S/L/E as well. Alternatively you can install the Elan Touchpad OSX driver 2.8.3. If you want to do that you will need to follow the guide for that here so you can get Touchpad working nicely even though you will need some getting used to since that driver has some gestures but the way it works is a bit funky (for example, right button on touchpad doesn't work and 2-finger swiping doesn't work).20. After you have done this, download Kext Wizard and my kexts and install them directly to S/L/E via Kext Wizard. Copy the same kexts into EXTRAS folder as well just in case.
Also don't forget to use my AppleCPUPowerManagemnt kext as well and install it into S/L/E as well and copy it to EXTRAS as well and later into Clover 10.9 folder as well. This CPU will make your CPU correctly handle CPU throttling.21. Also copy the smbios.plist and my Chameleon org.chameleon.plist into EXTRA folder on your Mavericks SSD installation as well as the AppleGraphicsPowerManagement will require it for Chameleon (config.plist for Clover has that smbios definition in the config file so you don't have to worry about Clover about that only Chameleon)22. Run Kext Wizard rebuild/repair permissions on both Extras and S/L/E (it will take a bit)23. Now restart and boot up from USB stick again and you should quickly load the OSX Mavericks and it should all hardware (aside from Thunderbolt) should be recognized.24. You will notice that your USB 3.0 is not recognized. That's because you have to turn the XHCI in BIOS back to Auto-Smart.
Once you do that USB 3.0 will recognized just fine.Now, this is where everything should be working for you by using the USB stick to boot and then picking Mavericks HDD. The reason you can't see SSD Mavericks partition in the BIOS is simple. It doesn't have compatible EFI boot information so the BIOS can't see it.
This is fine, that's why I used Clover.Now let's get back to Clover. For you to boot from BIOS directly into OSX obviously you need Clover. Clover install was fairly simple.1. Download latest Clover and install it to your Mavericks SSD partition. Follow the settings in my guide on options to choose for Clover as you will need to use the UEFI motherboard version and a few of those drivers and install the Theme BOOTCAMP.2.
Once you install Clover, clover config comes with some default settings, to avoid any of that as default settings are not going to be optimal for your laptop and it might cause problems, before you reboot you want to install Clover Configurator. The only purpose for YOU for Clover Configurator is to mount the EFI partition so you can copy the kexts I gave you into the CloverEFIKexts10.9 folder and that's IT.
Don't mess with anything else.3. Once you have mounted the EFI, copy those kexts to location I mentioned in step 2 here and also copy my Clover config.plist and overwrite the config.plist that Clover has as default inside the EFI partition you see mounted. You should have no problems in seeing it. Once you have done all that, you are ready to reboot. But before you do that, just in case, run Kext Wizard again and repair permissions on S/L/E and rebuild the cache again.4. Now, reboot and keep hitting ESC when you see ASUS ROG logo and you should see now UEFI partition show up for the SSD drive with Mavericks.5. When you select UEFI partition, you will see clover in nice 1920x1080 resolution with Apple nice metal icons.
Choose the OSX Mavericks HDD and simply just hit enter.6. You should now boot into OSX Mavericks the same way as you did with the USB stick.7. Now you should simply remove the USB stick as you don't need it anymore and now you can boot into Windows 8.1 or OSX directly from the ASUS ROG logo screen hitting ESC.8. I went into BIOS finally, and I set my Clover UEFI partition to be default so I can boot to OSX automatically, you can keep Windows as main if you want and access Mavericks by hitting ESC at boot but to me it was better to boot into OSX.9. Now you can install all the software and drivers you want into Windows 8.1 and software and all that.10. On OSX install Paragon NTFS and you will now see the Windows partition as well and you can use it's storage just like a drive for OSX as well.That's about it. Not sure how I can help but try to follow this tutorial now, by backing up everything you have and starting clean and I believe you shouldn't have any problems if you are using the same laptop as I am.
Install Clover on the Mac Partition. Mount the EFI Partition using Clover configurator, go into the EFIMicrosoftBoot Folder and rename the bootmgfw.efi to anything but that and it should force Clover to boot.No need in doing that. Just copy your Clover folder (from your USB stick) to the EFI folder of the first hard disk partition (which in my case is named 'System' on my N550JV and needs to be mounted manually e.g. With Disk Utility), then create new boot option in BIOS, navigate to and select Cloverx64.efi, name your boot option as you like and you are good to go. M3 bitlocker recovery keygen for mac. IMessage/iCloud things:- have bought something with your card- apple hardware (smbios):- Ethernet built-in flag and a properly set ethernet driver- NVRAM string in RTVariables or FileNVRAM module (random edit with chameleon wizard for example)card OK, ethernet OK (en0 top of the list etc), RTVariables. I try to edit config, smbios.
Nothing works ATMsetup network order do nothingchange password tricks do nothingsetup MLB/ROM do nothingi become to think that we are stuck. Have to go back to chameleon. There is someone on this too?i'm still working on it!edit: i will receive my wifi dongle tomorrow.edit2: i bought an AR5B195 on ebay, i will test it in a week.
Hi,partial success for me now.the missing link for the installer was indeed XHCI as mentioned by folks here.so the install worked.i still couldnt boot the hd from the installer or direct from the hd.later, i was doing some windows stuff at work today and had my laptop connected via the vga with a KVM to my desktop dell monitor (yeah, i also have to work sometimes).then i had another go at restarting the hd direct and the laptop popped up on my work monitor.so i let it go.and. As it was starting both screens fire up.i have since done many tests and i can boot only with another monitor connected (direct to vga or through kvm)i can disconnect the monitor or kvm when its running and the laptop behaves perfect.
Full graphics accelleration. I can change between dispalys and change the refresh to 60 or 120hz. Everything works as expected.
'about this mac' displays shows the dell monitor still connected but if i go to system prefs and detect displays it will drop back to one. The laptop display is shown as black screen and 'spdisplaysdisplay'i think this means that there is no entry in /S/L/Displays/Overrides/.my vendor id is 0x4ca3 and ProductID is 0x5044BUT (theres always a but)i still cannot boot the os direct without the vga connected to a monitor (havent tried the hdmi yet)this was the same result with os on separate disk with/without clover and dual booting from mbr with a boot manager.have tried to google but not had any luck yet.i am hoping some knowledgeable person here can identify my problem now.
2015-11-01 How to create El Capitan 10.11 USB installer Windows No Mac.,. A new version of tutorial is here – Now we only need 1 8GB USB flash drive instead of 3.